In May of 2013 I got my first trail camera and I quickly had to have more. They have been so much fun seeing what is going on in the woods when I am not there. Here are a few of the things others might find helpful that I learned about using and setting up trail cameras this year.
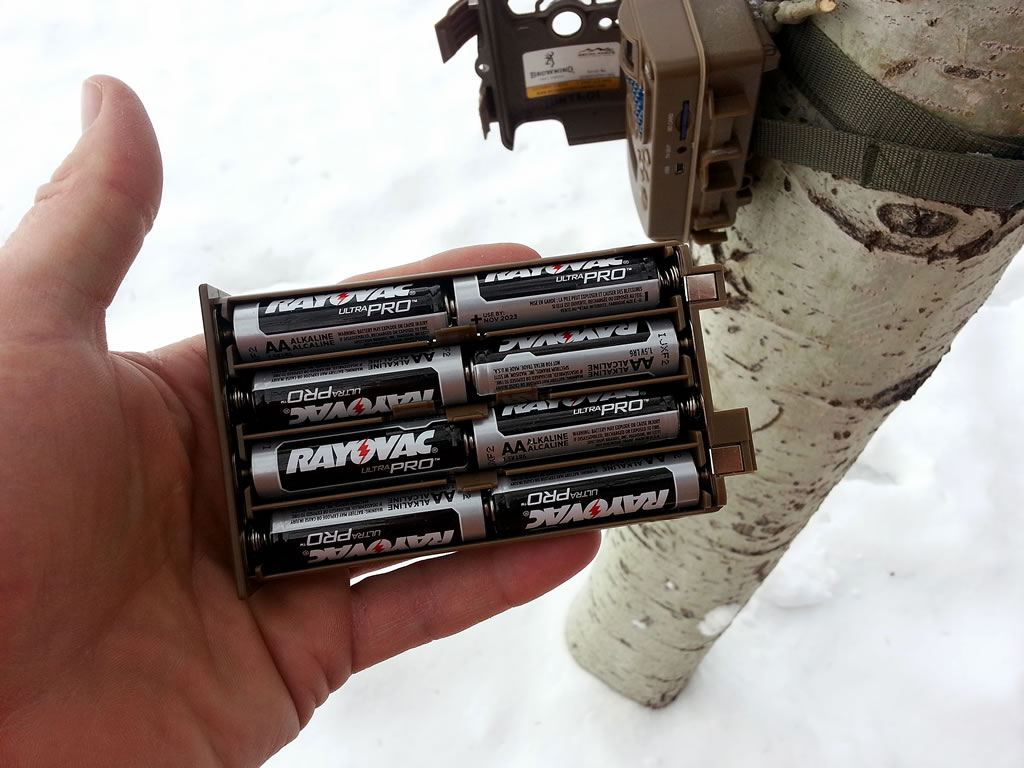
My favorite batteries for my trail cameras, Rayovac UltraPro AAs. They are inexpensive on Amazon.com, they last well and they have been capturing video down to 19 degrees below zero.
Batteries.
I have yet to swallow the pill and buy the expensive lithium batteries. I'm sure Lithium would be by far the best to use but they are just so very expensive and I have been really happy with a much less expensive battery. I have really liked the performance of the inexpensive Rayovac UltraPro AA alkaline batteries. I buy them in 48 bulk packs from Amazon.
I like to change out the batteries when they show near 50% on the management screen of my Browning trail cameras. I would guess that I get an average of around 700 videos that are 30 seconds long before the batteries drop near the 50% mark.
The reason I switch out the batteries at 50% is not that they won't keep taking photos and video. It is because of the possibility that it may take me a month before I get back in to check the cameras. A lot can happen in a month and I would hate for the cameras to miss any possible action. I do generally get around 6 weeks before they drop to 50% and I generally check my cameras every two weeks.
How cold is too cold for alkaline batteries?
I have found that with the Rayovac UltraPro batteries I can capture video with temperatures that are well below zero. All my online research showed that alkaline batteries were only good down to zero. I have captured many videos on all on my cameras in temperatures below zero. The coldest temperature so far has been some mule deer when it was 19 below.
Here's a few interesting video clips that show the cold temperatures where the Browning Trail Cameras have captured mule deer, coyotes and turkeys using Rayovac UltraPro alkaline batteries.
Bears.
If you have bears in the area they will mess with your cameras. They will try to destroy your cameras. Bears are bad... but pretty exciting to get on camera. I'm thinking an electrically charged wired right next to the camera would do wonders at keeping them from messing up my cameras. So for next year, I am looking into a small electric fence option for the bears.
SDHC Cards.
My favorite SDHC cards are a Sony 16 Gig Class 10 variety. Video can fill up cards quick so I like the extra room of a 16 Gig card. The Sony Class 10 cards read extremely fast and run around $12 on Amazon. Their speed comes in handy when downloading the files to my computer. The Browning trail cameras don't require class 10 but I sure enjoy how fast copying the files to my computer is.
Mounting to trees.
You have found the perfect location to watch game with a trail camera but there aren't any perfect trees to strap a camera to. Often this is the case. Finding a solid straight tree in the right spot to watch a muddy spring may not be possible. I have found that Browning Tree mounts are just the tool to mount trail cameras to just about any tree and then once you have it on the tree you then can angle the camera in almost any direction.
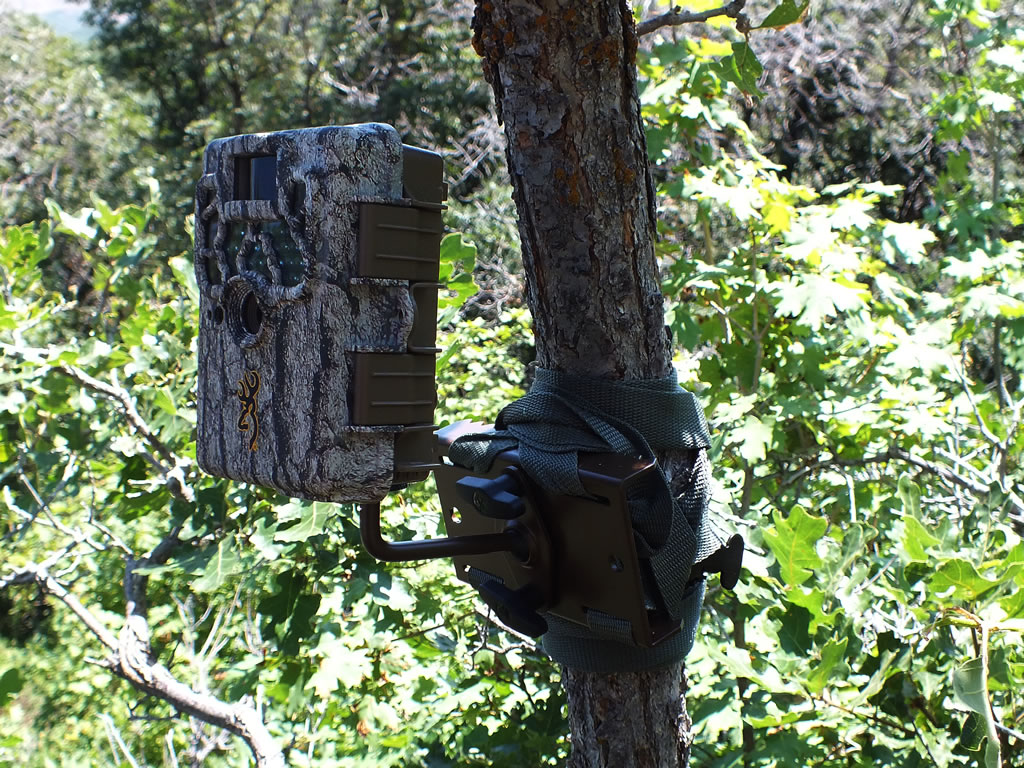
Browning Trail Camera Tree Mount around a small tree with the camera pointed up the hill to watch a trail the passes above.
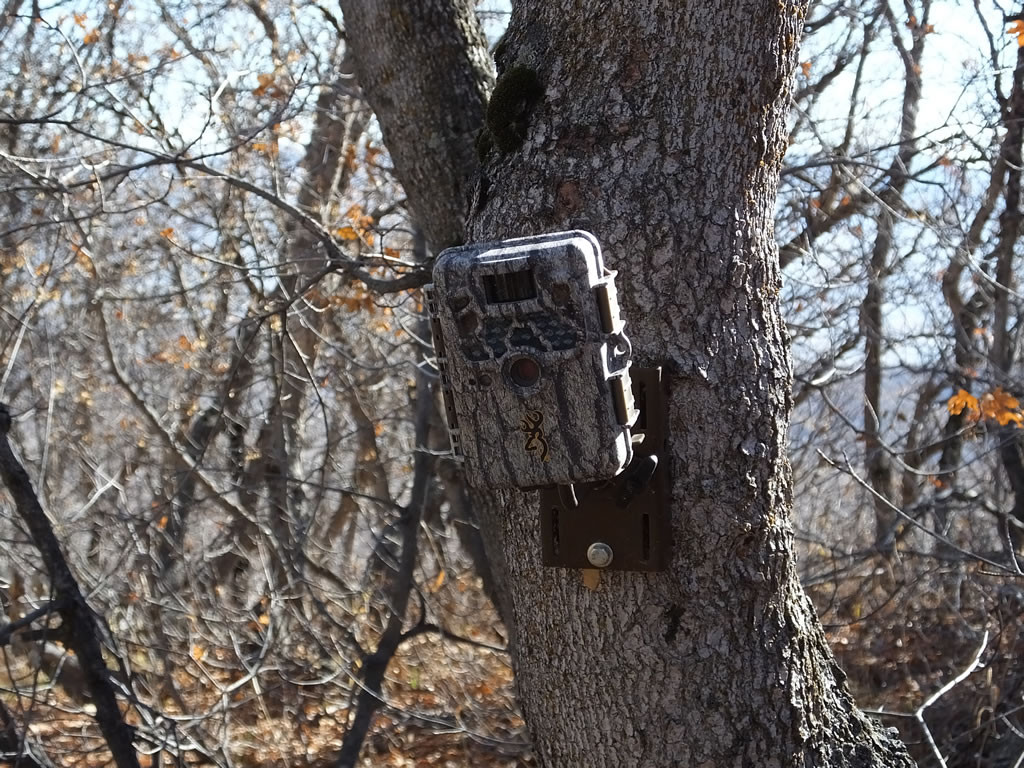
Lag bolts can also be used to securely mount a Browning Tree Mount to a solid tree. This camera is also angled to match the slope of the trail it is watching and tipped slightly down.
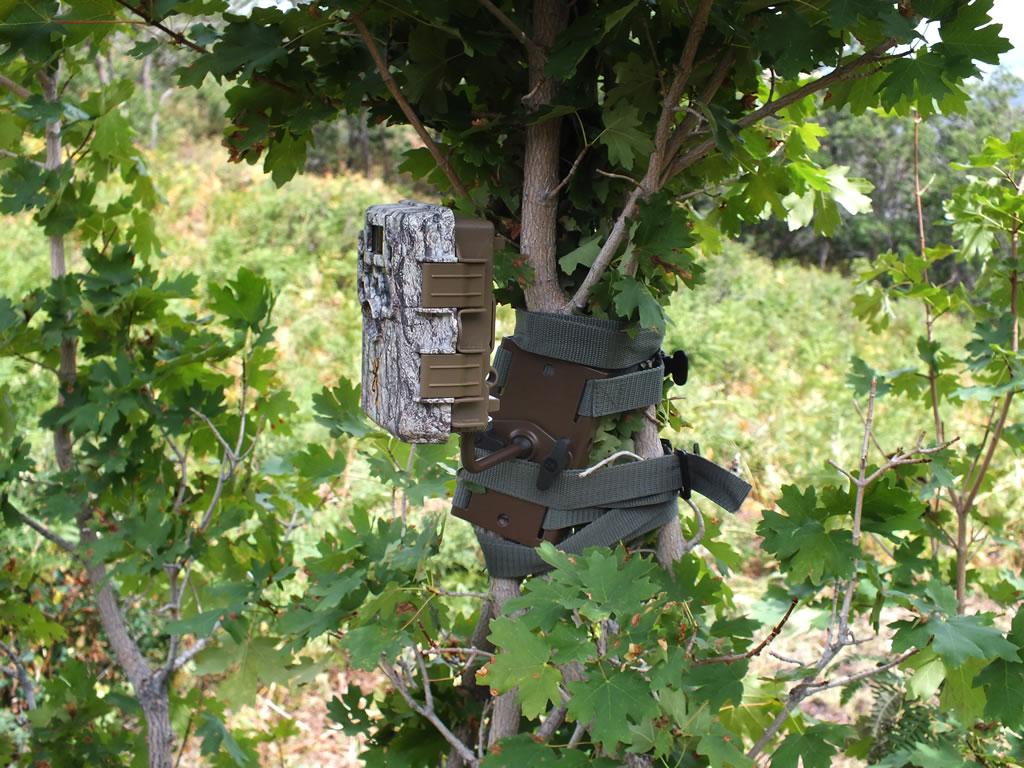
Browning Trail Camera Tree Mount used to bundle several small trees together. The trees were about three feet apart and using the two cinch straps I pulled them all together to form a fairly solid mounting location for this spring I wanted to watch. I got some fun action from this location which was only made possible by using the Browning Tree Mount. Below is my favorite elk video from this camera's location.
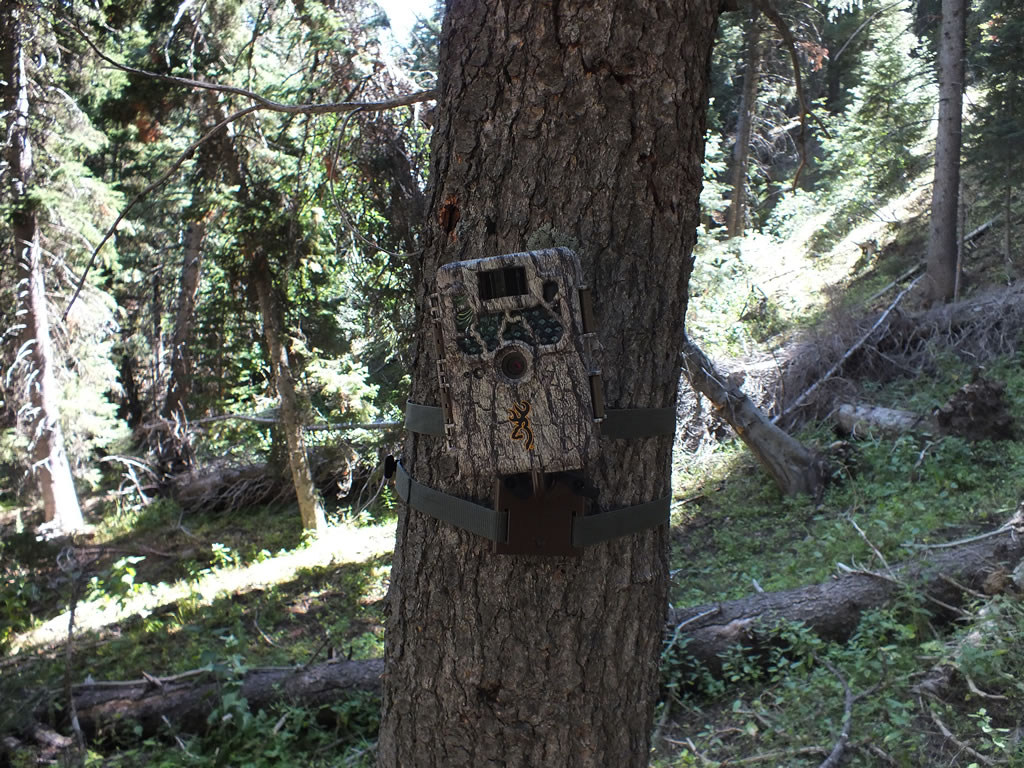
Notice how this Recon Force trail camera is tilted. I have found it best to angle the trail cameras to match the angle of the trail that it is watching. See sample images.

Here is a Browning Trail Camera Tree Mount used on an old metal fence post.

A half-fallen tree works great for mounting a trail camera with the Browning Trail Camera Tree Mount.
Better framed critters.
I get much better-framed images and videos of critters if I tilt the trail camera to match the angle of the trail it was watching. A perfectly level camera pointed at a trail that is on an incline chops the heads off the critters on the uphill side and chops the legs off the critters on the downhill side. The best way to get a trail camera angled to match the trail angle is a Browning Tree Mount. These mounts also make mounting cameras to all sorts of strangely angled trees a breeze.

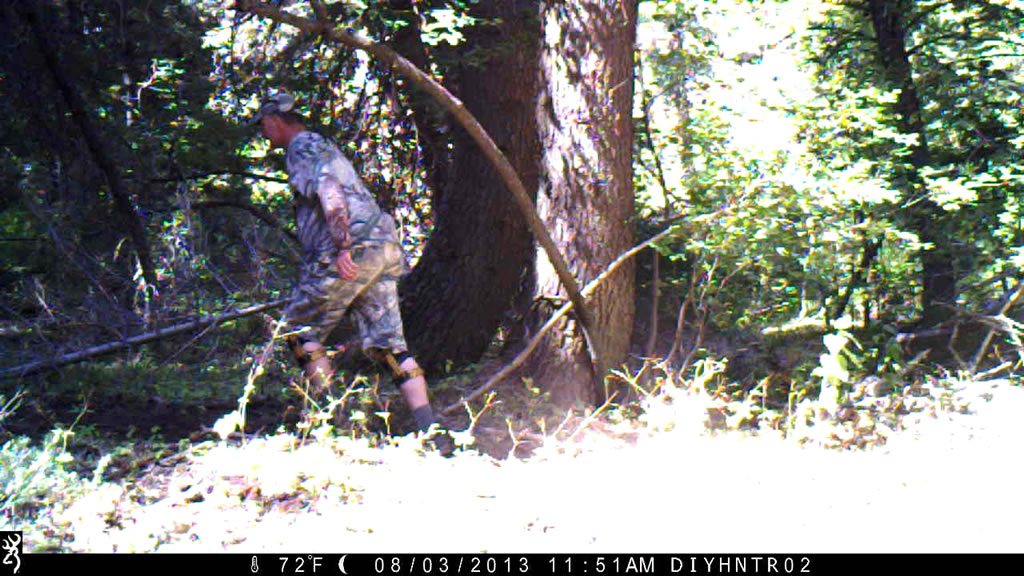
Checking the view from the trail camera on this setup showed that on the high side of the slope my head would get cut off. The camera is set up in a level position when taking this photo.
Here is the view after tilting the trail camera to match the angle of the slope of the trail it was pointed at. In this position, I get a nice view of the antlers of a bull elk all the way across the view of the camera.
Reviewing video and images in the field.
Most of my cameras do not have a viewfinder to preview what the camera is pointed at. I do have one Spec Ops camera with a viewfinder that makes getting the camera pointed exactly where I want it very easy. For all of my other cameras, I purchase a USB adapter cable for my Samsung Galaxy SIII camera. This adapter allows me to plug in USB devices like keyboards, hard drives and in this case, SD card readers. Whenever a set a camera in a new location I walk past the camera then pull the SD card and review it to make sure it is pointed right where I want it. I also review what is on the camera when I go back to swap out SD cards and batteries. Sometimes I find that the critters are passing more along one side or the other. By having the ability to check this in the field I can make the adjustment to the camera without waiting another couple weeks before I go back out to check them again.

Using a Samsung USB adapter and SD card reader to read the SDHC cards from my trail cameras.
To review the AVI format of the video that my Browning Trail Cameras take I had to get a video playing app. At first, I found that the "MX Player" app worked to play the videos however after an upgrade in Android I could never get this app to play the video format anymore. I found that VLC worked great at playing the video format. I did have to sideload the app because it wasn't available in the US because of some US phones not being compatible or something. Anyhow VLC works great on my SIII.
Here's a weird thing I also found about using the USB SD card reader. For whatever reason, I have to huff warm moist air onto the USB connector just before I plug it into the adapter cable to get the card reader to be recognized. I have two different SD card readers and both of them require the huff to work. I'm guessing that the moisture gives the connection just a little more strength. I wonder if a gold plated connector would do the trick. Whatever the case this trick always works.
More is better.
I ended up using six trail cameras to scout for elk in a relatively small area. I found that the elk did frequent the area but were not in the area all the time. I learned that they generally moved in a clockwise pattern completely opposite of how I thought they would have moved. I learned that they never frequented the timber I thought that they would be bedding in... The point is I learned a ton about what was going on in that area when I wasn't there. This gave me the confidence to stick it out when the first three trips out archery hunting I didn't see a single elk. On my fourth trip, I found and shot a spike. Having several cameras gave me valuable information on how and when they moved through the area giving me the confidence that I wasn't wasting my time hunting the area. This also proved in helping my son Dallen take a nice bull elk a few weeks after I took the spike.
Where I like to place them.
I like to put my cameras out watching areas that I think would funnel elk and deer. Along the edge of a cliff, in a saddle going over a ridge, along a heavily used game trail, these are typical places I set my cameras to watch. And of course, I like to set them up watching springs.
One location that has amazed me with the videos it has captured is a bare patch of dirt along the edge of some quaking aspens. I set the camera out watching this relatively barren of vegetation spot because it offered a clear view where animals would not be blocked by underbrush, limbs etc. The bare patch is about 30 yards in diameter and I just have the camera pointing across the center of the spot. There aren't any trail trails going through it but deer, elk, bears, and coyotes have all been captured crossing that bare patch.
In some situations, I will position deadfall trees and limbs and set them along the edges of where the camera is viewing to get critters to funnel around the deadfall and in front of the camera better.
This is a playlist of all my YouTube trail camera action.