- Details
- Written by: The DIY Hunter
- Category: Outdoor
- Hits: 4905
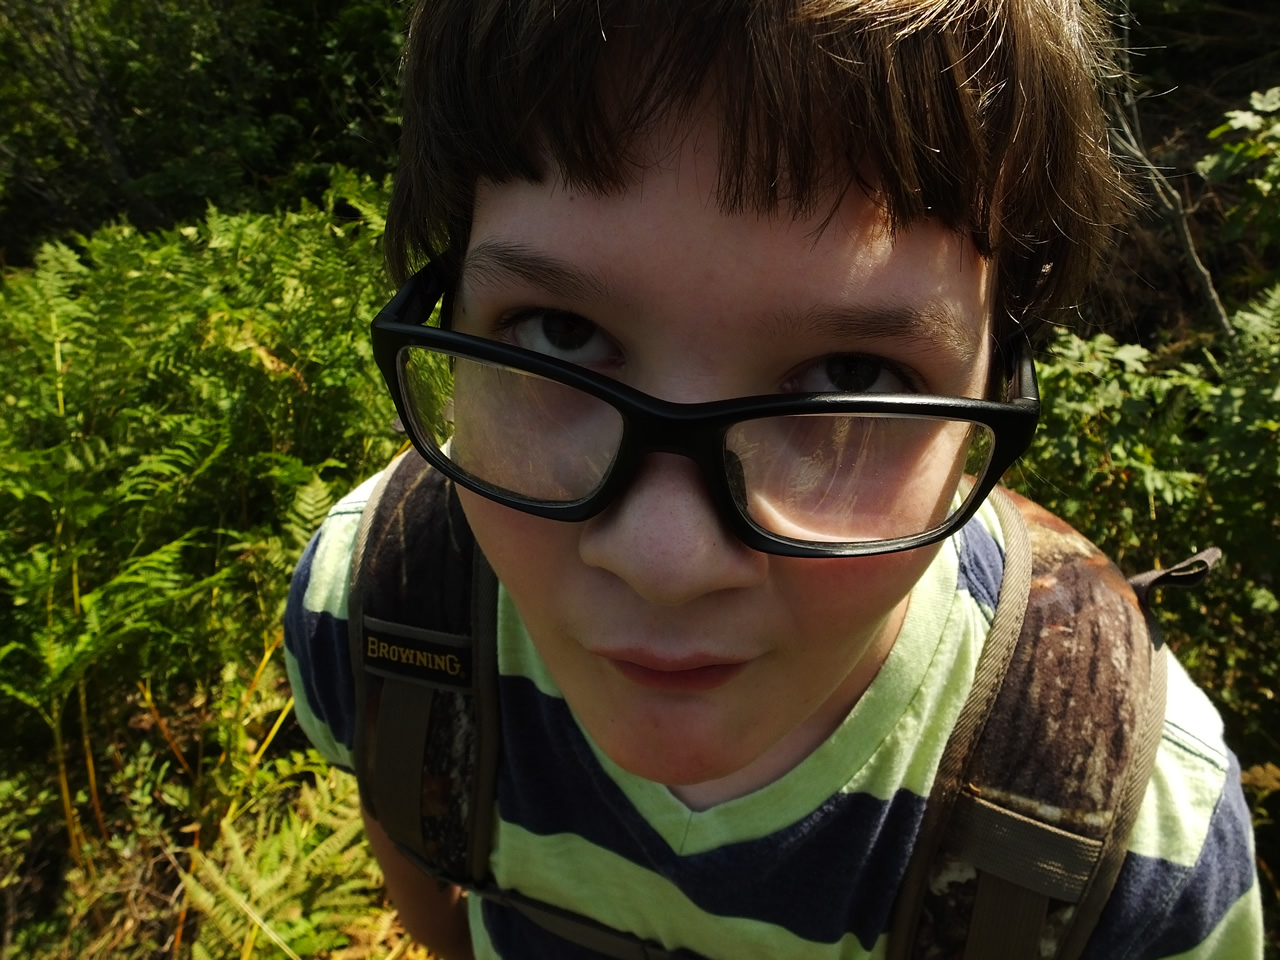
Landen giving me a crazy look while we were out checking trail cameras.

One of the Cottontail Rabbits we saw on our trip up the mountian.

Here's a selfie of Landen and me during our hike to check the trail cameras.
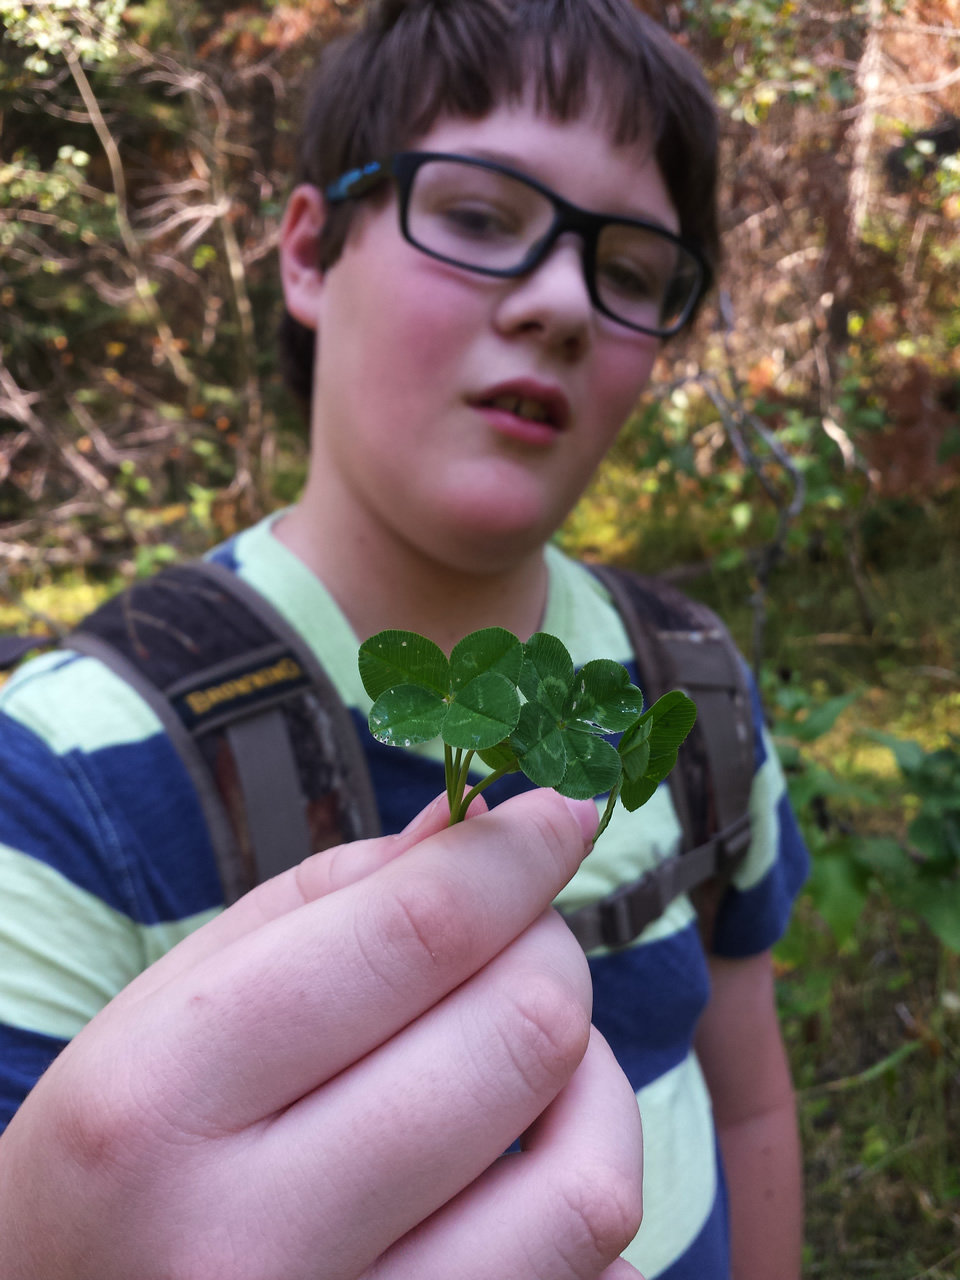
Who says it's hard to find four leaf clovers?
Back out in August to check the trail cameras. This time with my son Landen.
At our first camera we found the handy work of a black bear. The homemade NiMh external battery pack was destroyed with batteries on the ground and the camera was ripped from the tree. I'm going to get more of Browning's full metal security boxes to place the cameras in where I have problems with bears.
Upon checking the cameras there was once again far more bears on cameras than elk. Where have the elk gone? :(
Landen and I had a nice hike. It was great to get some one on one time with him. He's a fun kid. He liked to make funny faces every time I'd pull out the camera. He was a trooper and hiked all over the place with me looking for different possible locations for placing trail cameras.
We were hoping to find a bunch of elk on the cameras but alas they just are still a little far and few this year. There is a lot of feed on the mountain this summer so apparently the elk just haven't felt the need to frequent this area very much.
Unfortunately from a hunting perspective I can't just move and hunt where the elk are as most of the mountain is locked up in a CWMU so I have to try and catch the "scraps" that might fall from the table, so to speak. This spot requires that the elk come to me because it is backed in so close to the CWMU. I really don't have much of an option other than to hope they come out of the iron curtain.
We have been seeing a lot more cottontail rabbits this year and this trip out was no exception. We were able to get one to pause long enough to snap a few pics of the critter.
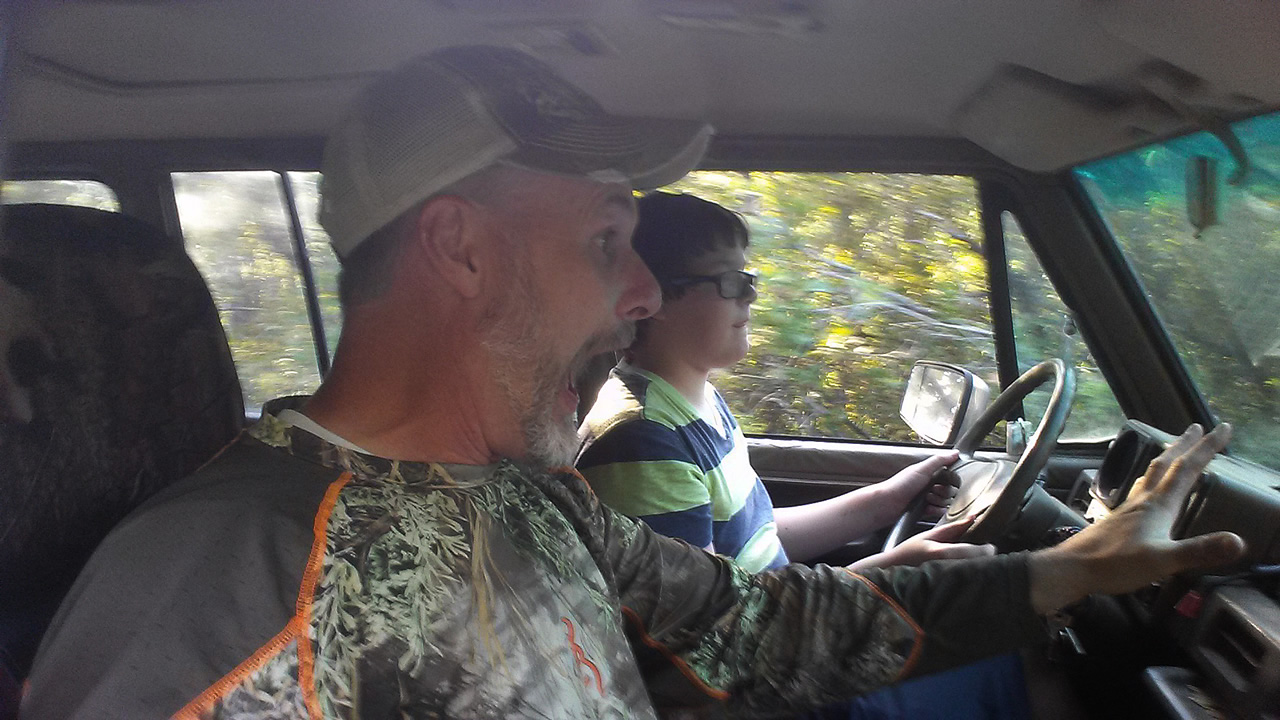
I let Landen take the wheel of my old Montero for the trip back down the mountain. He did a wonderful job especially for his first time driving and only being eleven years old, although he is 5'10" and 175 lbs. Good job Landen!
- Details
- Written by: The DIY Hunter
- Category: Outdoor
- Hits: 5071
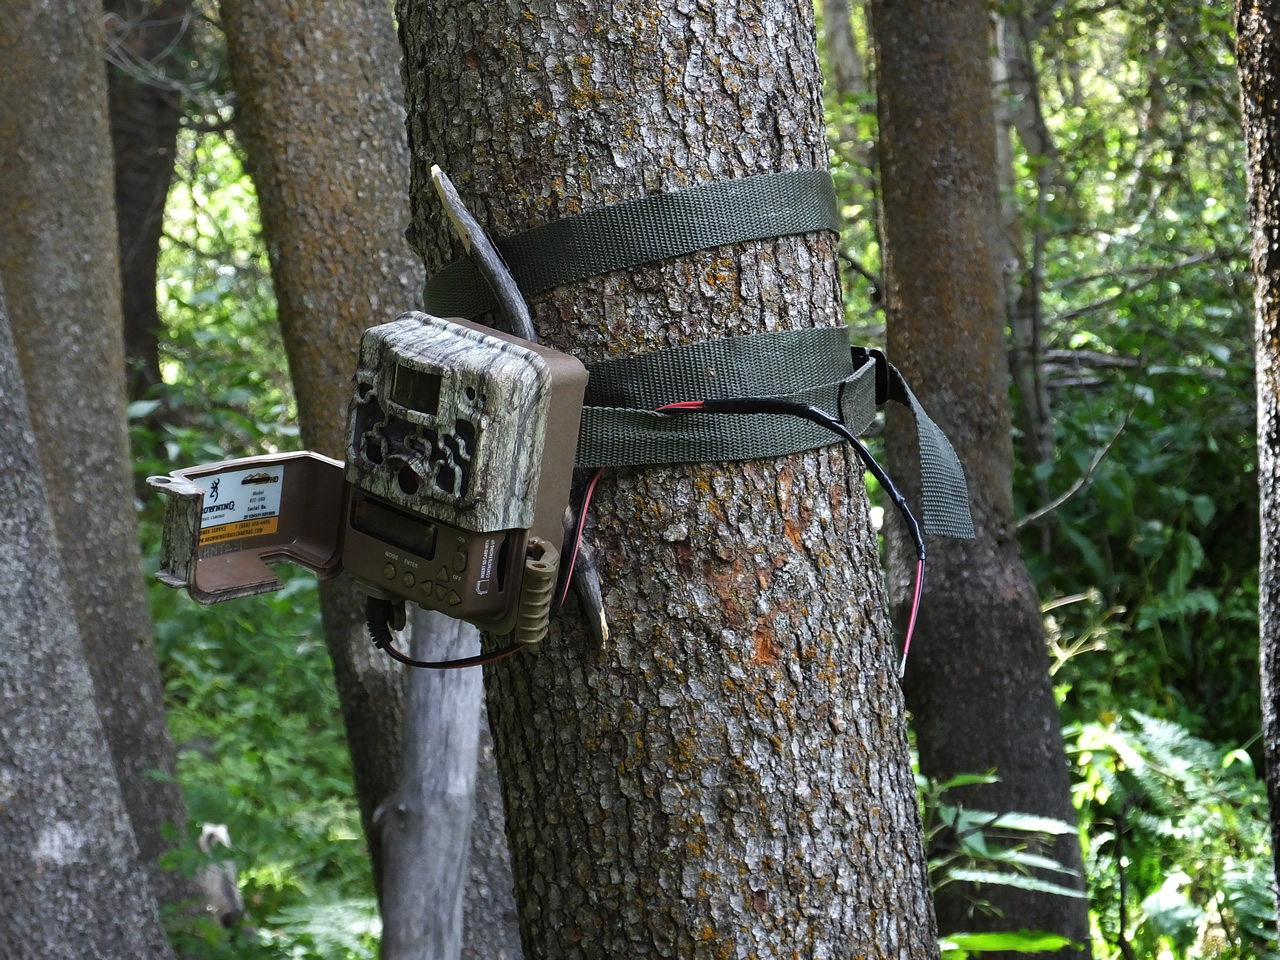
Here is how I found my Strike Force BTC-5HD trail camera. The bears had ripped my 12 Volt AA NiMh external battery pack off the tree and twisted the BTC-5HD camera around the tree. The latch door was open and luckily the bears didn't rip the door off. I might need to lock the latch to prevent the door from coming open.
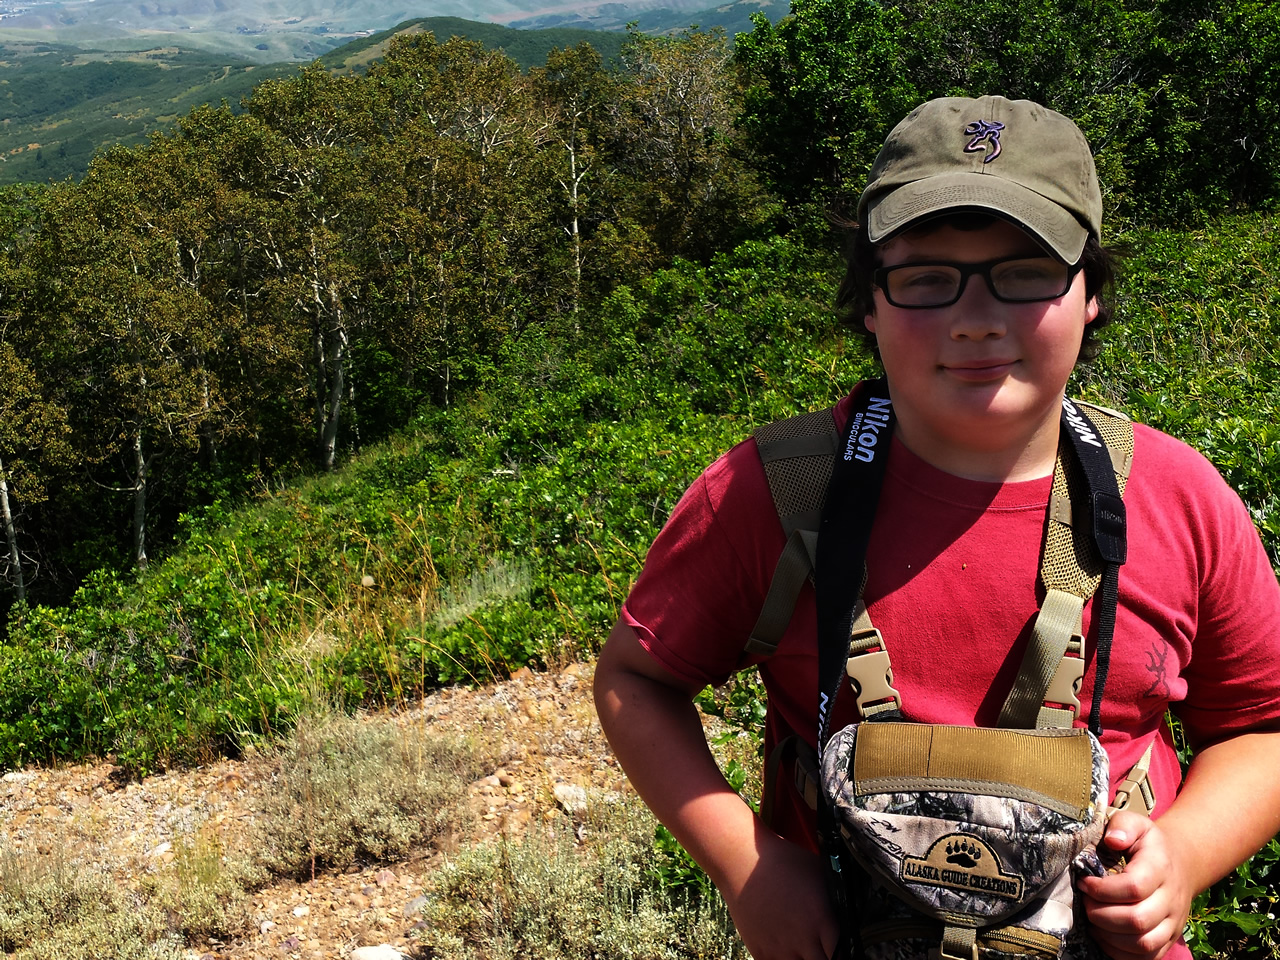
My hiking buddy KB helping me check my trail cameras.
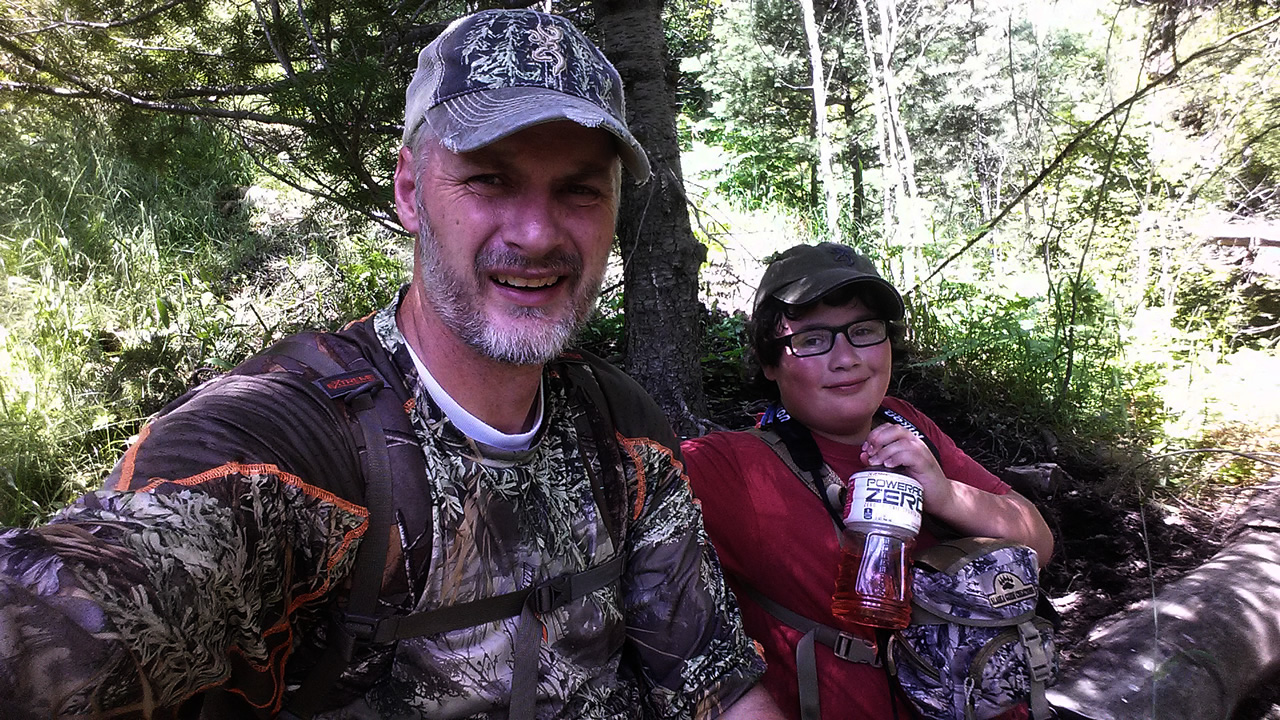
Here's a selfie of KB and me during our hike to check the trail cameras.
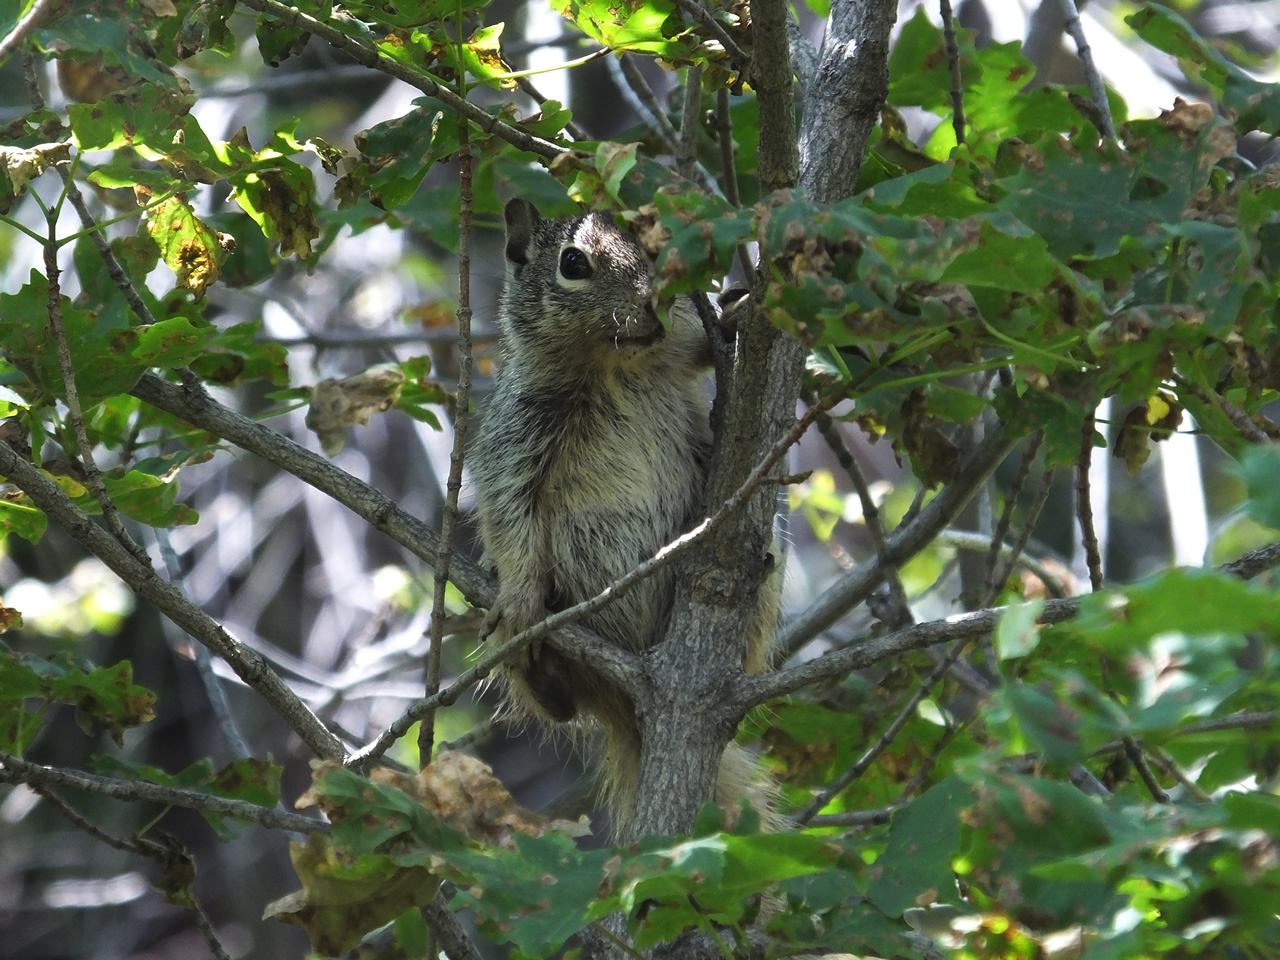
This rock squirrel was checking me out during the hike up the mountain.
Back out checking the trail cameras in July has turned up a great deal of black bears. Unfortunately I have only one elk on the cameras while compared to last year during this same time period in 2014 when there was a lot of elk traffic in the area. I'm starting to question archery hunting the area this year. Maybe I'll hunt elk with my muzzleloader this year. Hmm...
As you can see from the videos on this page the bears are back to working on trying to rip my trail cameras off the trees. So far they haven't been successful in doing so with my BTC-7FHD and BTC-5HD cameras. The reinforced mounting brackets on the newer Browning trail cameras have been great, especially the metal bracket on the Recon Force BTC-7FHD cameras.
Bears and elk have the best noses and if you have watched many of my trail camera video clips you can see how quickly they can find my cameras with their noses. I might need to try spraying them down with a scent killer when I set them up and see if that helps keep them from messing with them.
Another thing I have noticed this year is that I am getting Mountain Lions on the cameras from time to time. Maybe the lions have been scaring off the elk? I doubt it.
- Details
- Written by: The DIY Hunter
- Category: Outdoor
- Hits: 5979
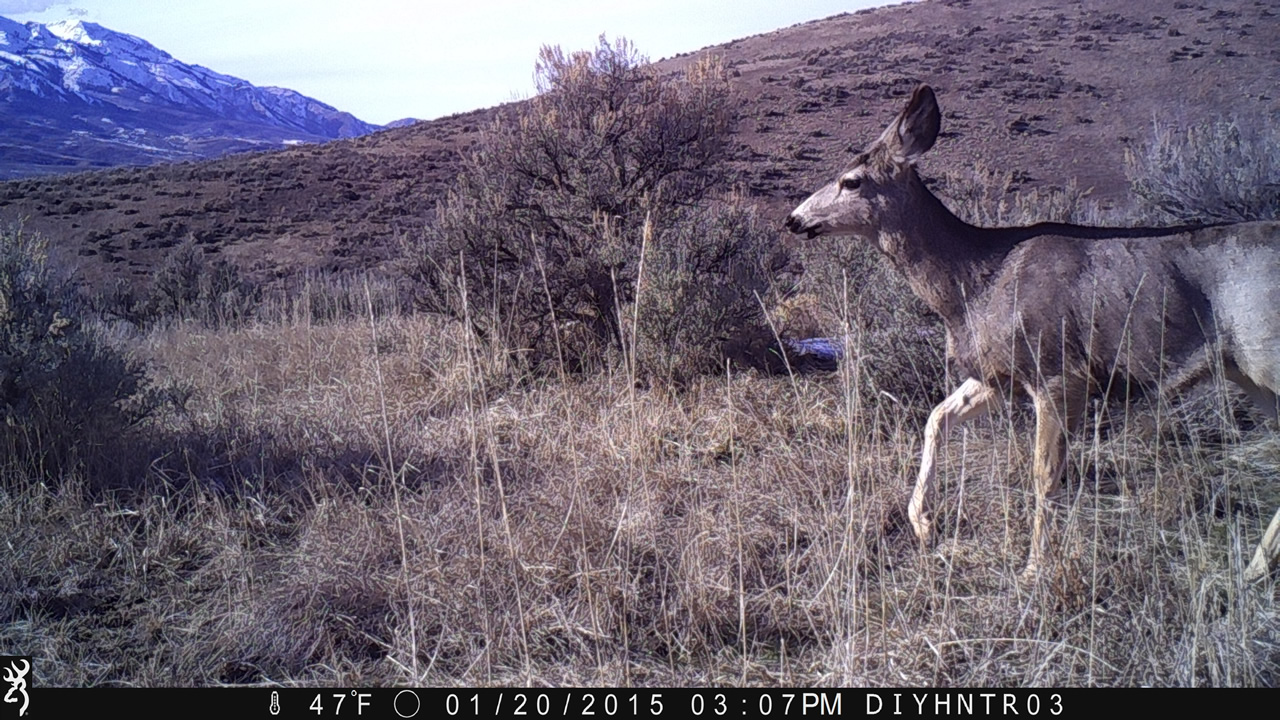
Here's a sample photo from my Recon Force BTC-2XR camera named DIYHNTR03
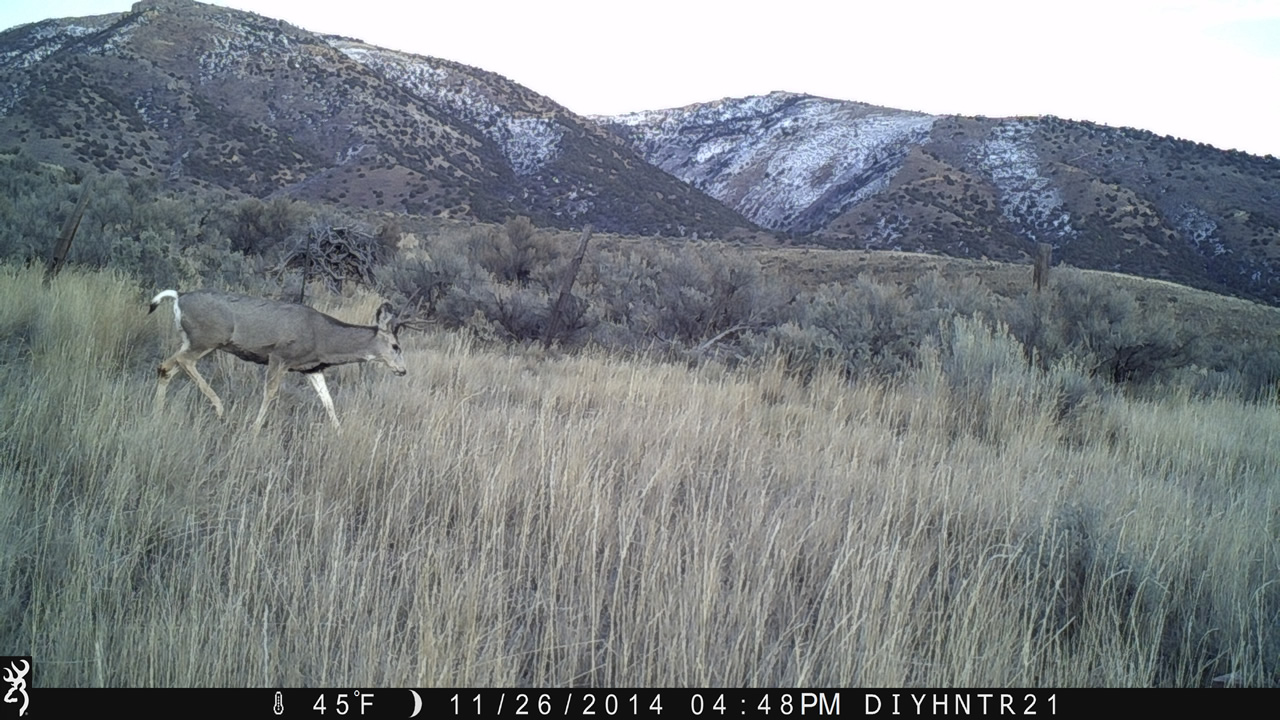
Here's a sample photo from my Strike Force BTC-5 camera named DIYHNTR21.
Well, I knew it was bound to happen sometime. Today when I went to pull two trail cameras from some sage mule deer wintering area the two cameras were gone. I had the two cameras watching two directions off the same dead juniper tree in Morgan, Utah. Whoever took the cameras got a sweet Strike Force, BTC-5 and a Recon Force, BTC-2XR camera. They also took the Browning Tree Mount metal bracket and a Browning external battery pack.
The property they were on was on the north side of the valley butting up to Kippen property. The cameras were on my family's property placed 50 yards or so from the Kippen fence. There has been an ATV traveling the fence line on the Kippen property.
The cameras were named DIYHNTR03 and DIYHNTR21 and have this in the lower portion of the images they take. I had DIYHNTR03 written on the one BTC-2XR camera but I believe the DIYHNTR21 camera did not have anything written on it.
I was hoping to catch some nice mule deer bucks on these cameras wintering this past winter but nothing exciting was on the cameras on January 31st the last time I checked them. My cousin said they were still on the tree recently when he was up on the hill. I'm guessing someone was out looking for shed antlers noticed they were on camera and decided to keep the evidence of their tromping through the property.
I have some creative ideas on how I could make them trackable if stolen in the future. Hmm....